
Launch your WordPress site with Amazon EC2
In this tutorial we are going show how to setup your main site or testing site within a few minutes, In AWS we can create IP based website after that we have map the particular IP to your required Domain name. so here we able to learn how to build a wordpress site without a domain and with domain.
Let’s get started.
Step 1: Launch an Amazon EC2 Instance:
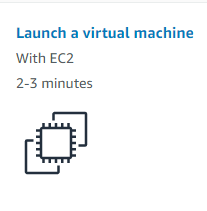
First you have to setup aws account with all your details, after that just sign-in to aws console. Now you are in the dashboard, click Launch a virtual machine from the dashboard to create and configure your virtual machine.
Step 2: Set Your EC2-vm’s Region :
Step 3: Search WordPress in AWS Marketplace :
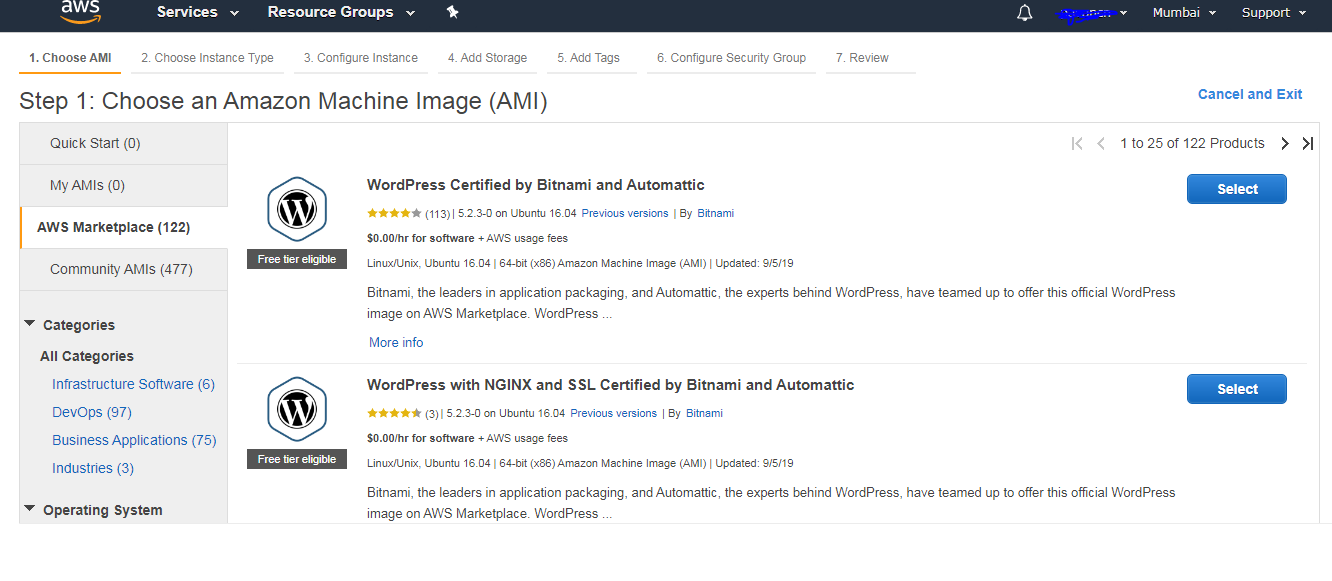
Step 4: Select WordPress with NGINX and SSL Certified by Bitmani and Automattic:
Select the Wordpress with NGINX and SSL Certified by Bitmani and Automattic and click continue.
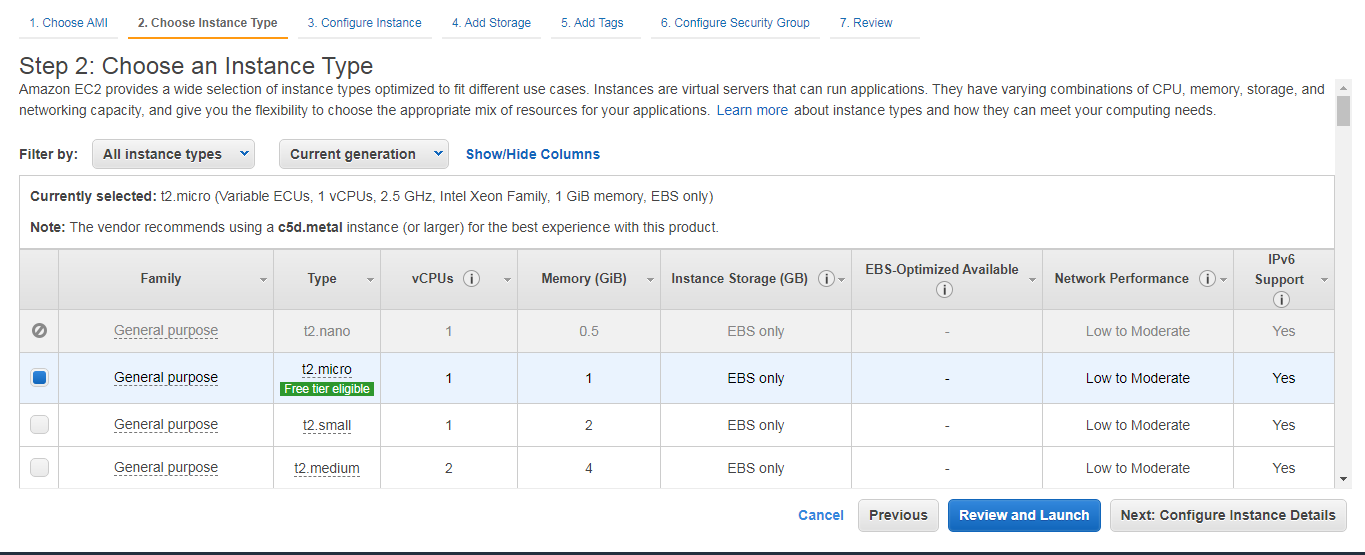
The above are instance details, Here i am using a free-tier eligible t2.micro instance.
Click on Next : Configure instance Details
Step 5: In this step you can see instance configuration details :
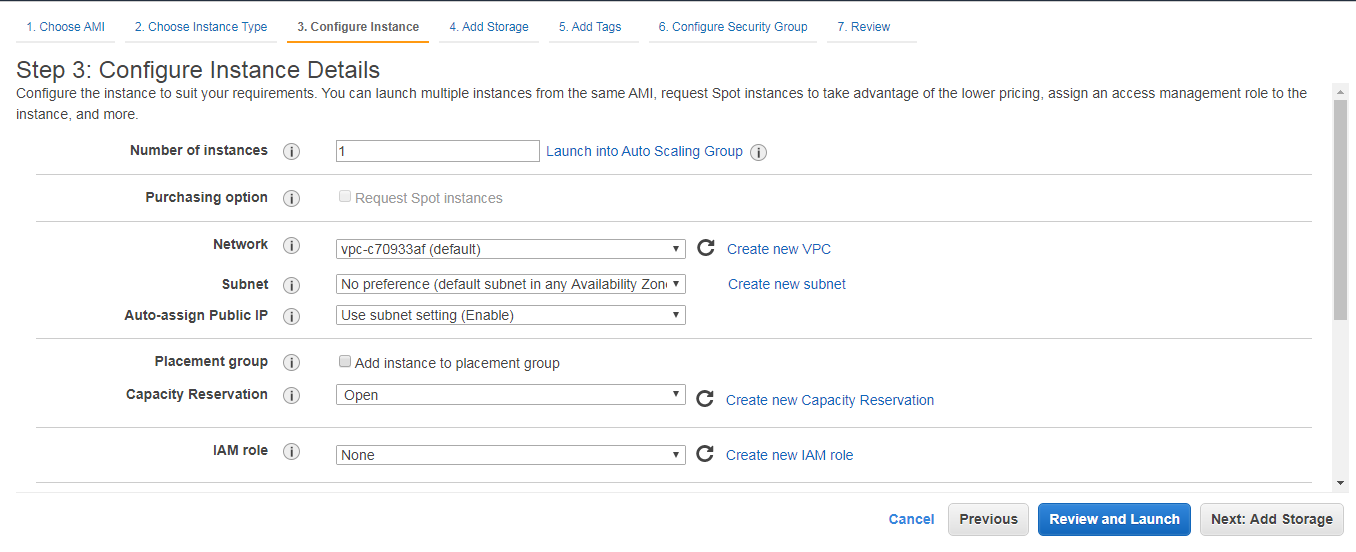
As I am using free-tier i dont have much options for configuration. So just click on
Review and Launch
Step 6 : In this step you can review configurations of your WordPress EC2 Instance :
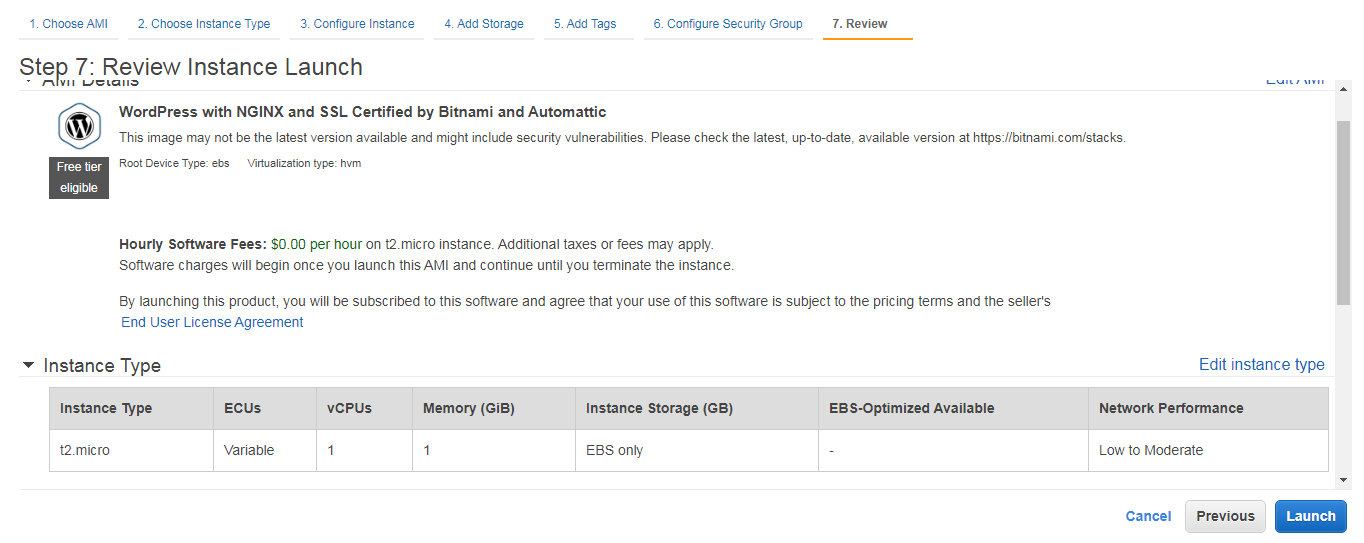
just Go Ahead with Launch
Step 7 : After clicking Launch button Create a keypair and download it to your pc :
after clicking the Launch button you have to create a keypair for SSH connection. Assign name for your key pair and click on the download button.
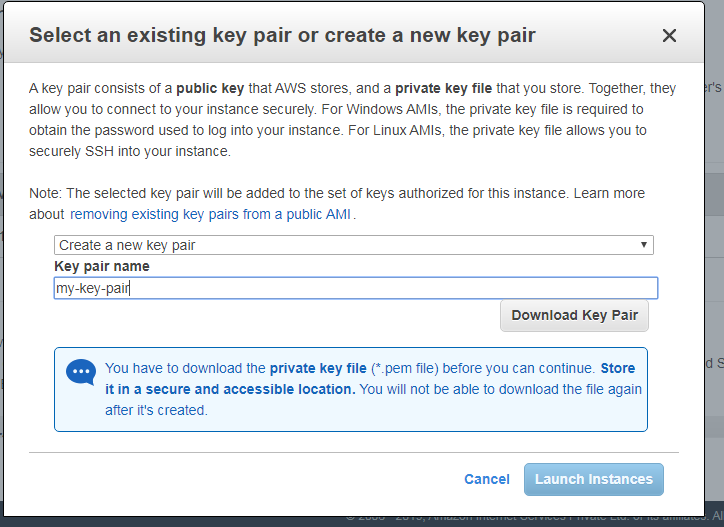
After the download of Key-pair click on Launch Instances. Now instance is ready to use.
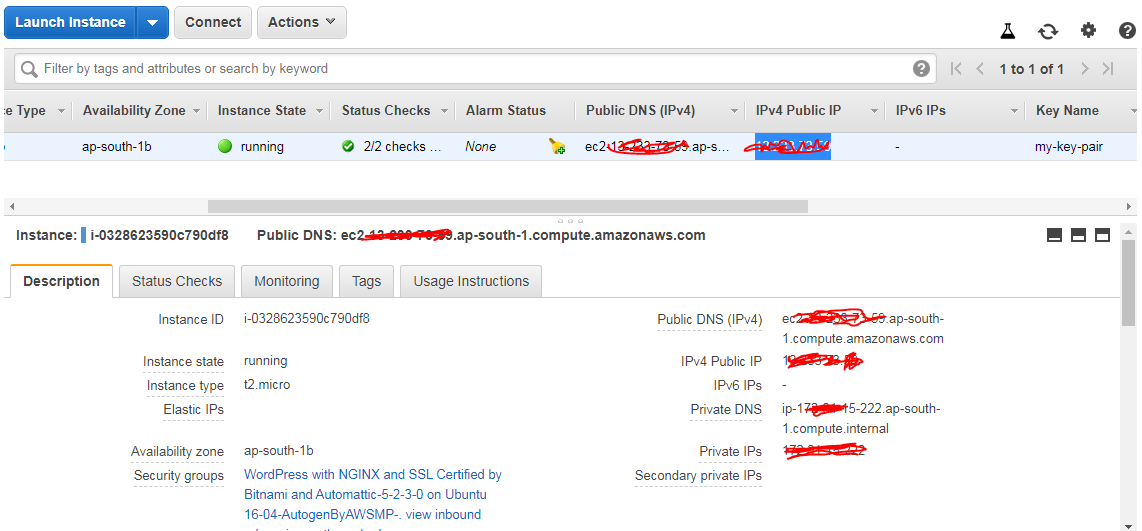
Step 8: Goto your EC2 dashboard and click on Running Instances :
Here you will find your public ip of your wordpress, just copy it and paste in your browser you can see the fresh wordpress.
Step 9 : Now its time to get admin login credentials of this installed wordpress :
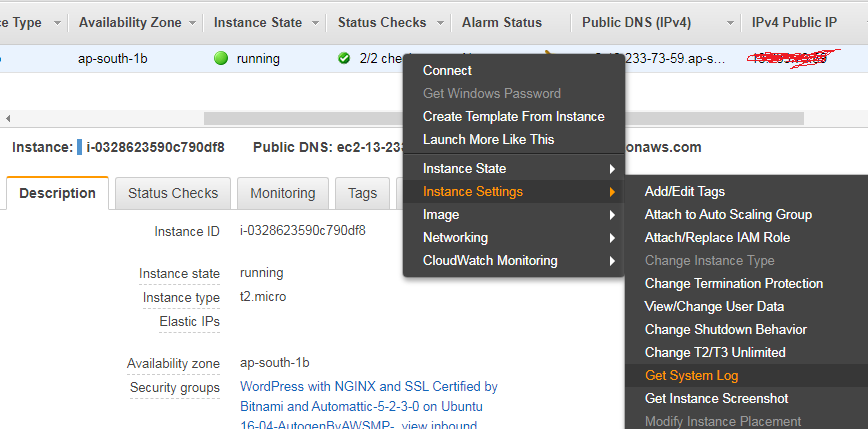
Right click on your instance goto instance setting -> Get system Log
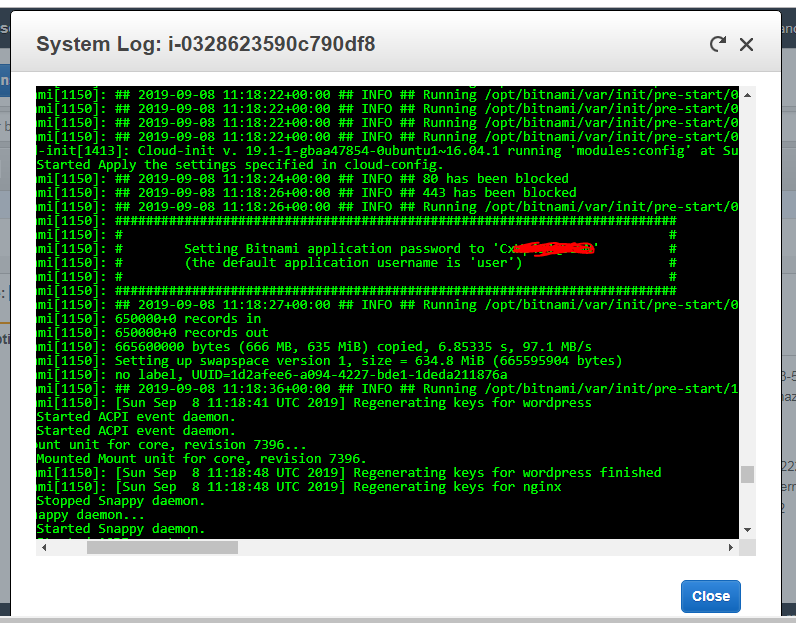
In the last section of the system log you can find your admin login credentials.
Congratulations! You now have done your WordPress site up & running. You can now manage, customize, and configure it as you like.
Next Steps
Now that you have your WordPress site up & running. You need to make it easy for people to get to. In the next article i’ll register a domain name for your website so people can find it easily, and i’ll connect that domain name to your currently running AWS – EC2 instance.
Add Comment